Available in toolbars: maps
See reference: https://overit-spa.atlassian.net/wiki/spaces/NEXTGENGEO/pages/103375340676/Toolbar+management#Pre-defined-toolbars
Name: ui_printmap
Description: It allows you to create digital copies of the map you're currently viewing. It essentially acts like a "print to screen" function but with additional functionalities tailored for maps.
Icon:
The print map tool enhances the platform by providing a convenient way to share and document your map views. It offers more control and customization compared to simply taking a screenshot of the map window.
Here's a breakdown of what the print map tool offers:
-
Map capture: You can define the specific area of the map you want to include in the printout. This might involve selecting a rectangular area or using existing map zoom extents.
-
Layout options: the tool provides a selection of pre-defined layouts for your printout.
-
Export formats: The print map widget offers options to export the map as a PDF, image file (like PNG or JPG) and other formats.
To use the tool, you have to configure the widget property adding the print service (see reference here: https://overit-spa.atlassian.net/wiki/spaces/NEXTGENGEO/pages/103375340676/Toolbar+management#How-to-configure )
How to use
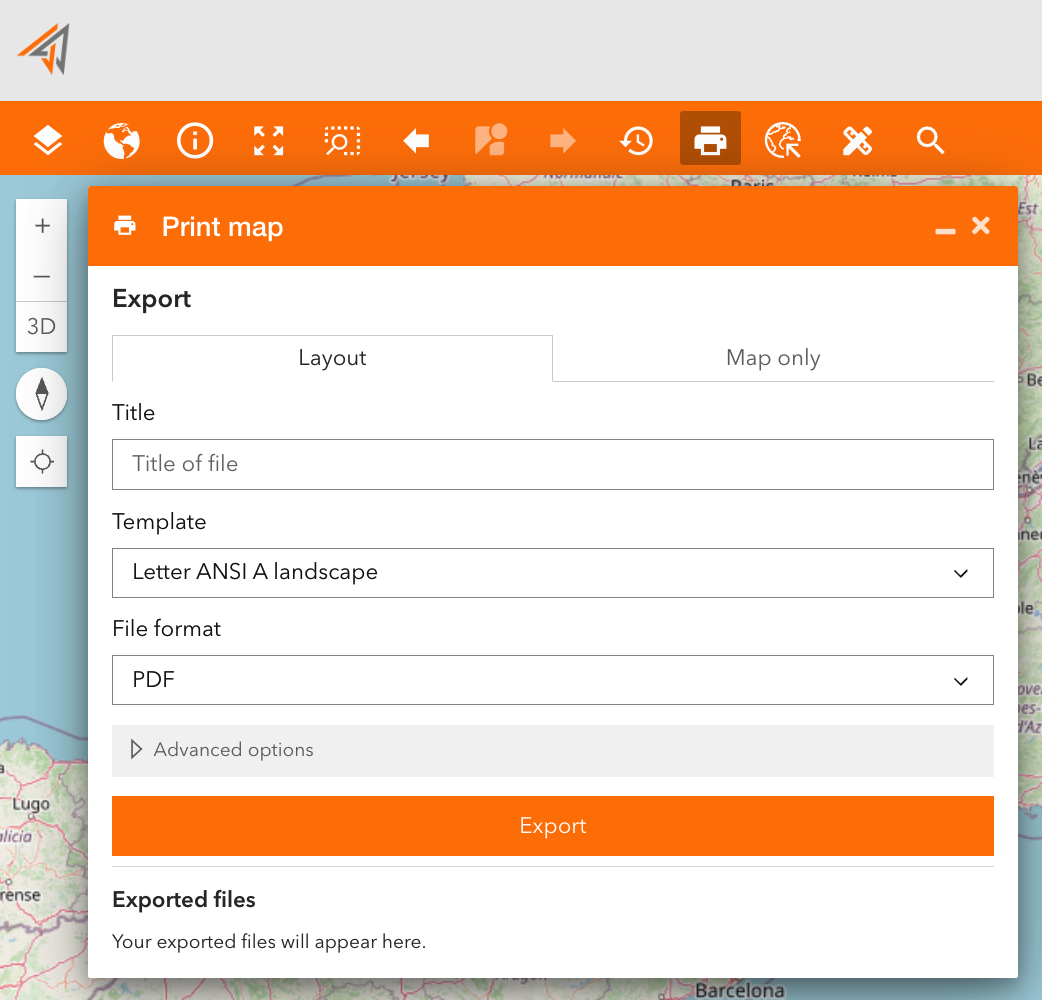
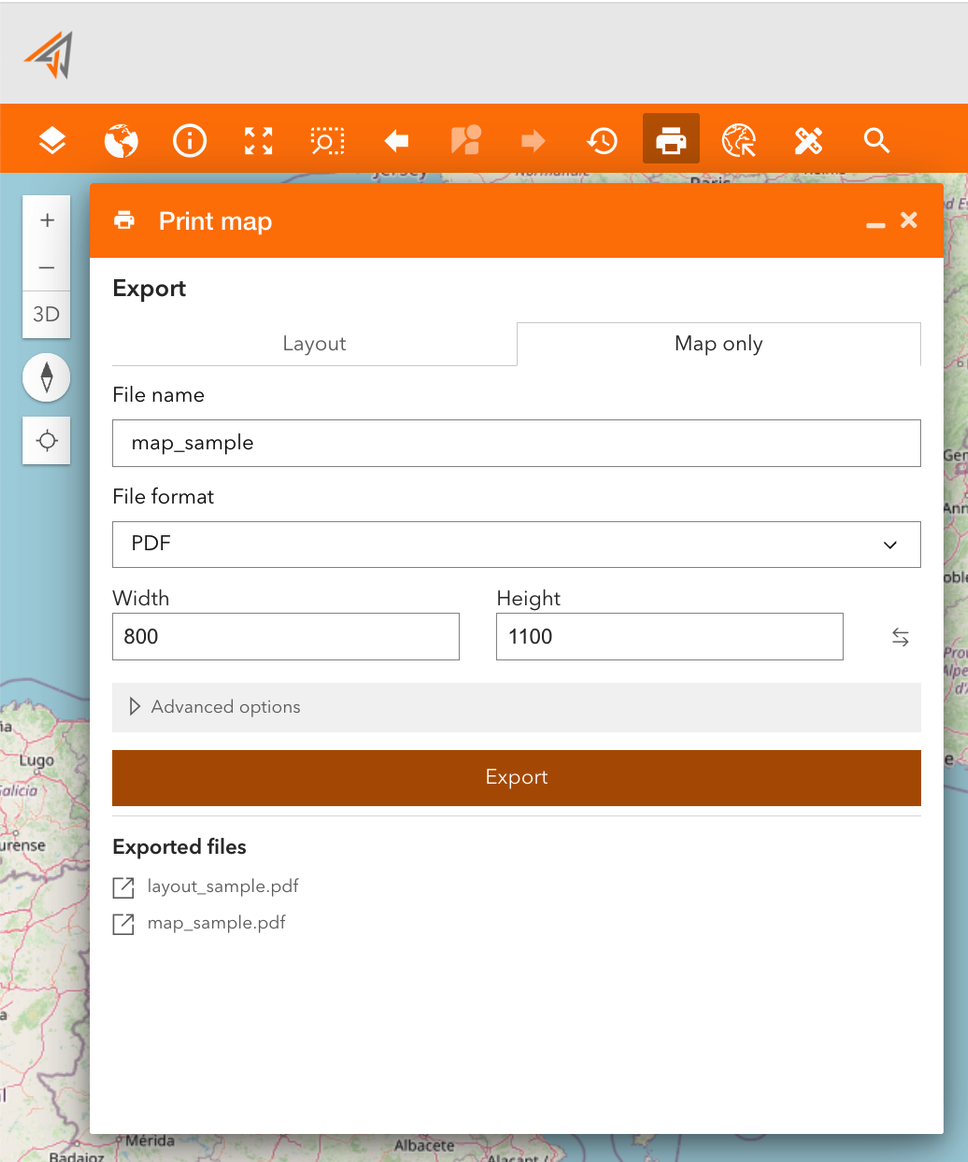
Accessing to the print map tool, a panel will be shown allowing to export using a layout or map only.
Exporting a layout you can define (Figure 1 - Print layout):
-
File name
-
Template to use (pre-defined)
-
File format
-
Advanced options (such as scale, DPI, author, copyright)
|
|---|
|
Figure 1 - Print layout |
Exporting a map you can define (Figure 2 - Print map only):
-
File name
-
File format
-
Dimensions (width, height)
-
Advanced options (scale, DPI)
Clicking on the export button the file will be shown in the bottom section of the tool and you can click on it to open a new window of the browser and visualize it.
|
|---|
|
Figure 2 - Print map only |
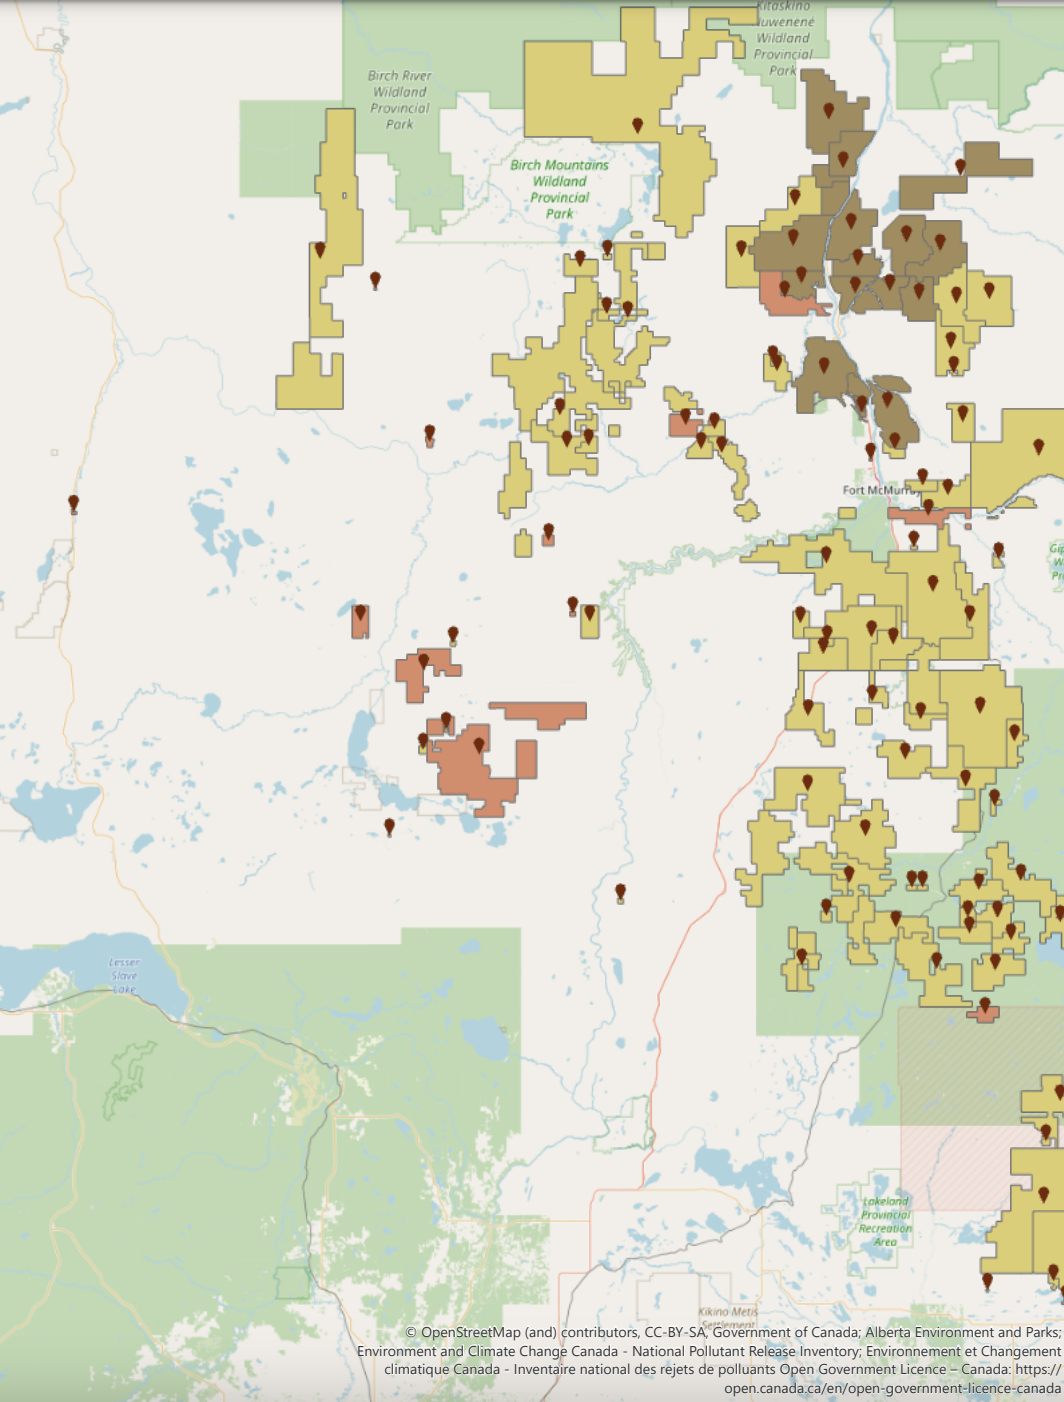
Here there is an example about the difference between the two printing types:
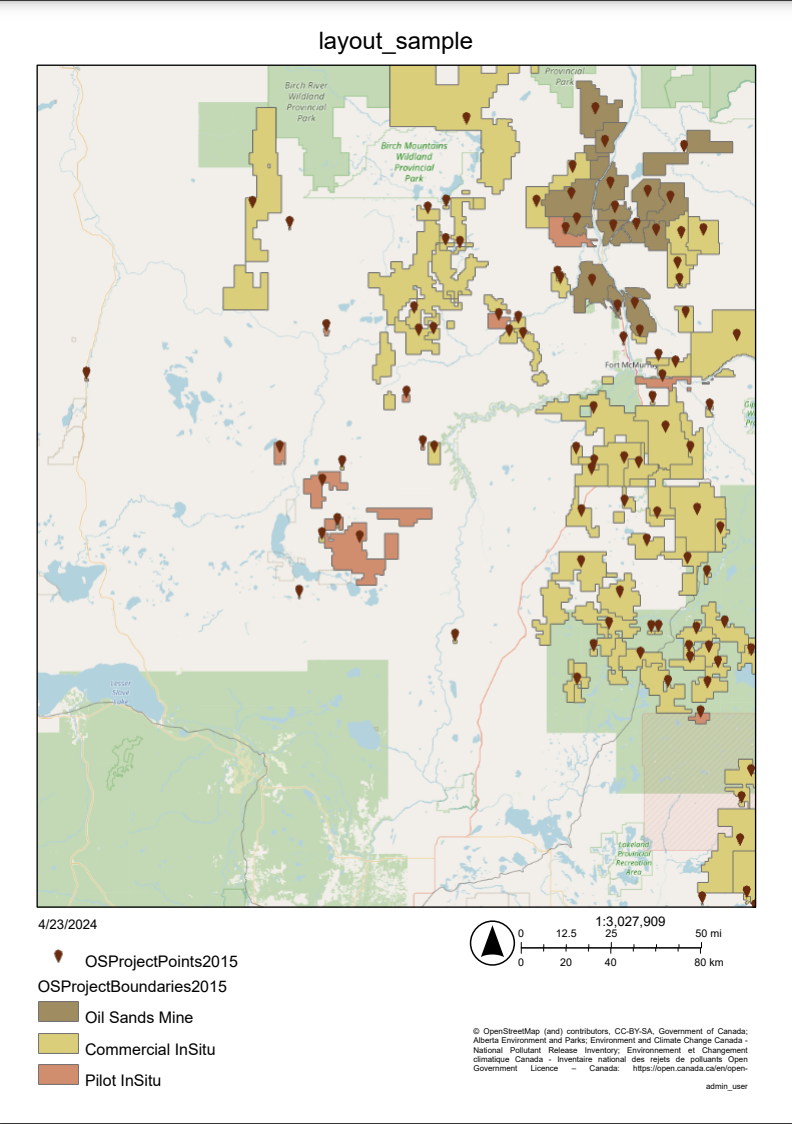
Layout
Map Only