
This topic provides step-by-step instructions on how to activate and configure the Work Order (WO) Alert Monitor panel within the FSM Daily Plan. This monitor helps users quickly identify and manage specific work orders based on predefined criteria and thresholds.
When to Perform This Task
You should configure the WO Alert Monitor when you need to set up real-time notifications or visual cues for specific work order statuses or conditions within the Daily Plan. This is typically done to highlight critical tasks, monitor progress, or manage exceptions.
Prerequisites
To configure WO Alerts, you must have access to the "WO Alert" section within the FSM Configuration settings. You should also have an understanding of how to create and manage WO Filters, as these are essential for defining alert criteria.
Step-by-Step Instructions
1. Create a New WO Alert
WO Alerts are defined within the FSM system to monitor specific sets of work orders.
-
From the MAIN MENU, navigate to CONFIGURATION > CORE > DAILY AND MULTI-DAY PLAN > WO ALERT.
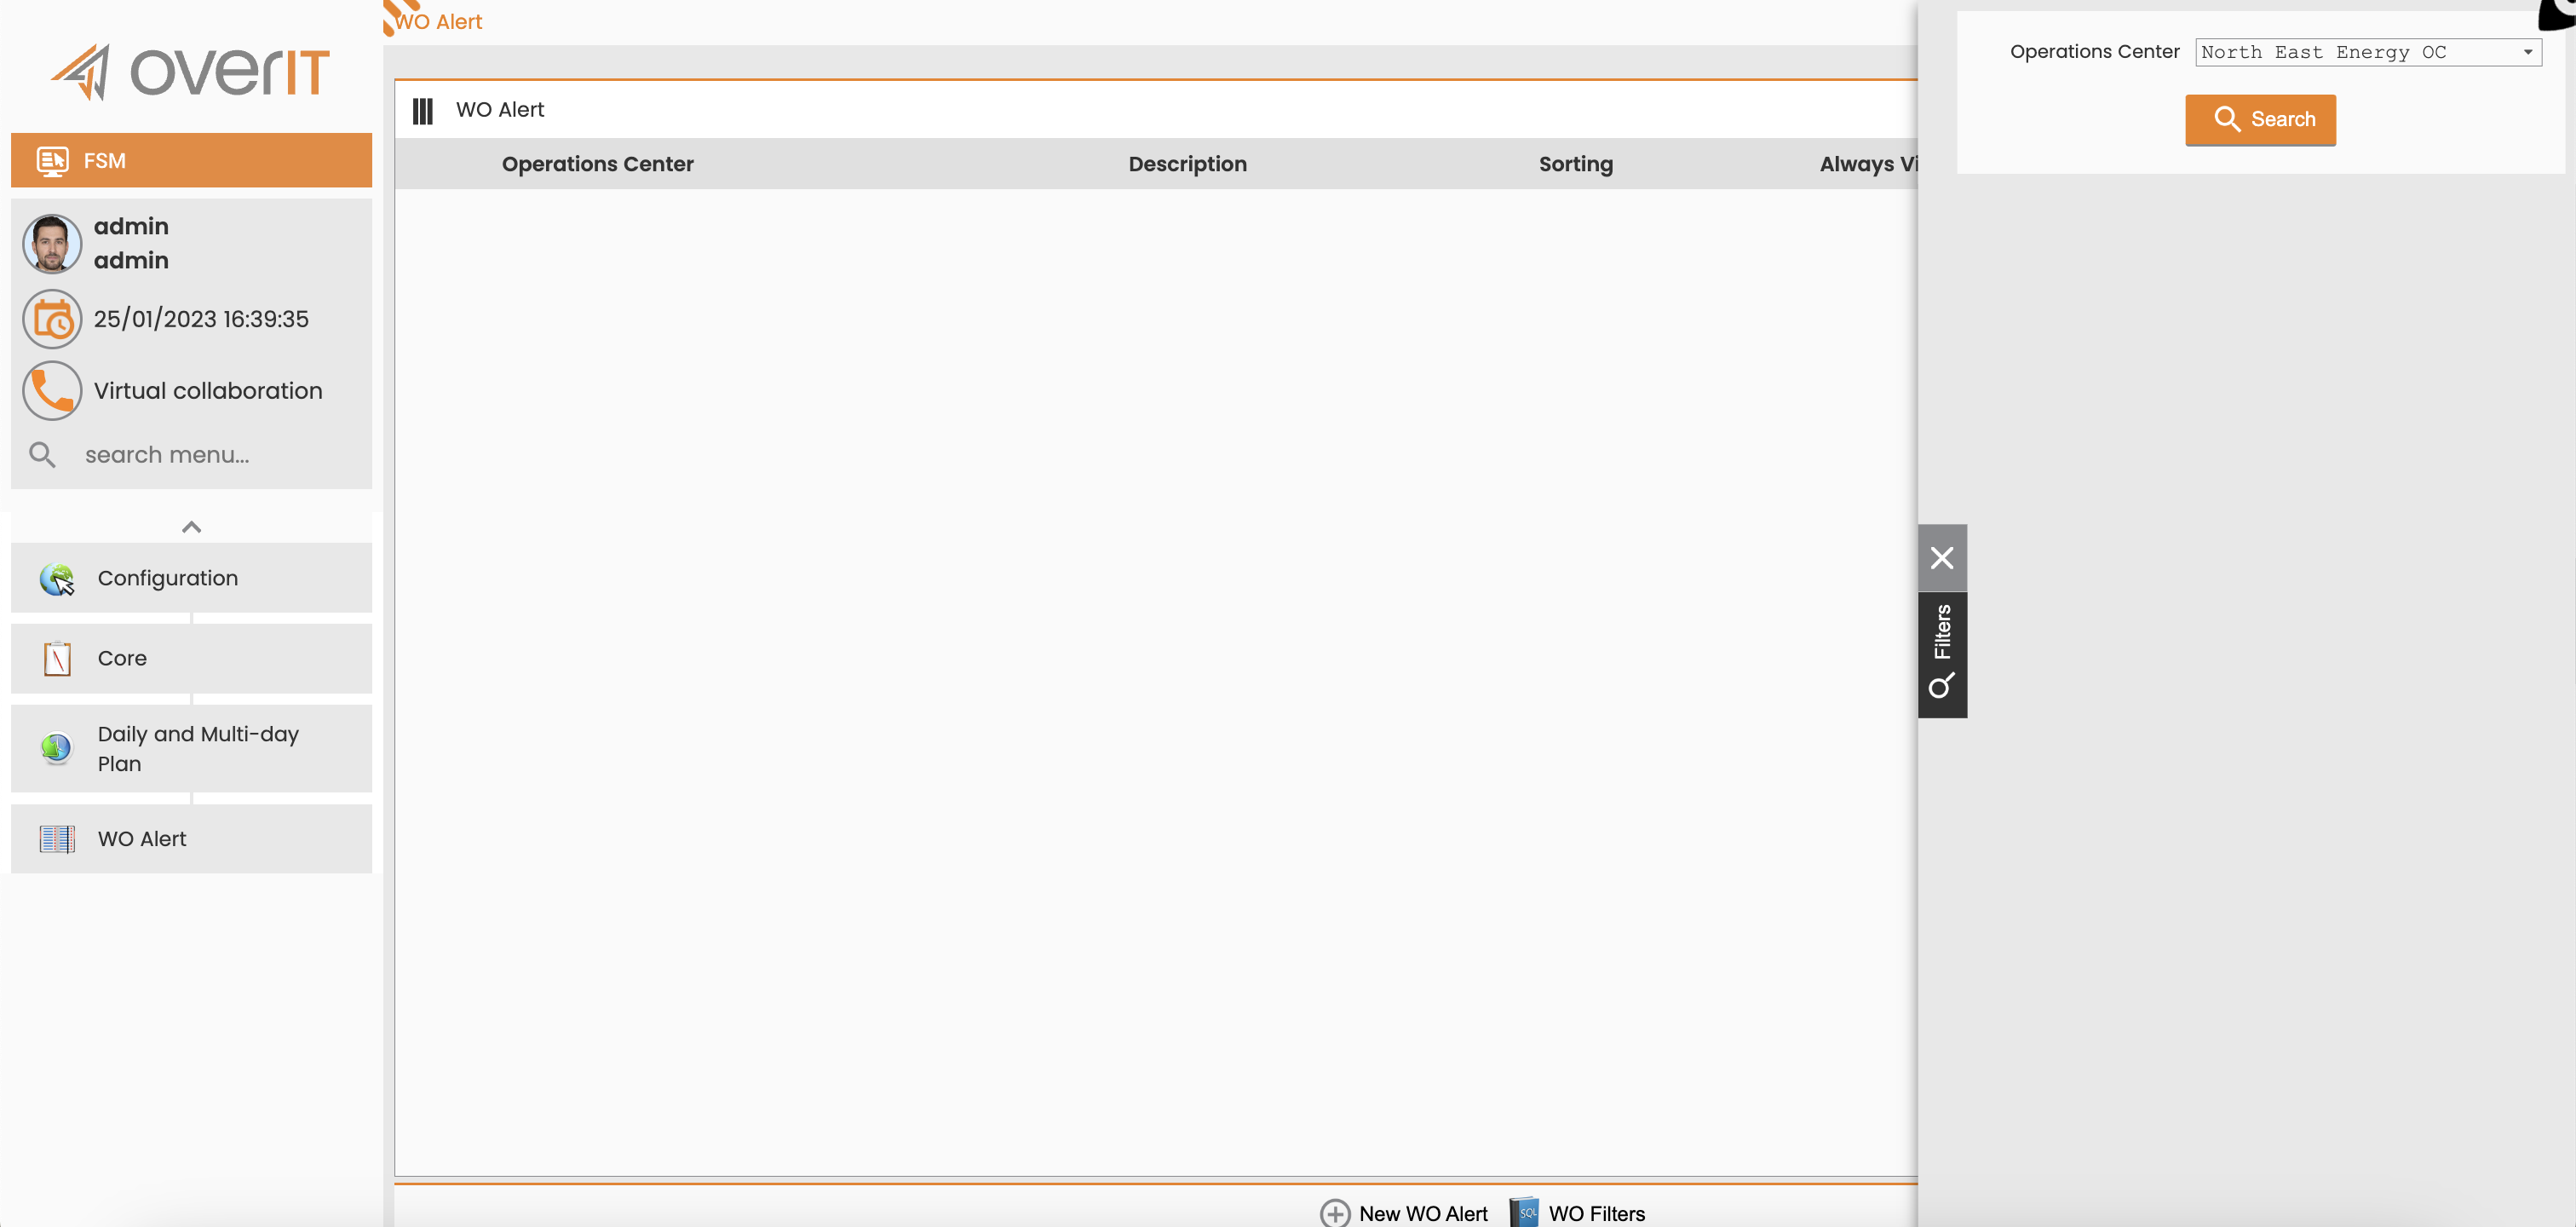
WO Alert Screen -
Select the relevant Operations Center.
-
Click the SEARCH button.
-
Click the New WO Alert button to create a new alert.
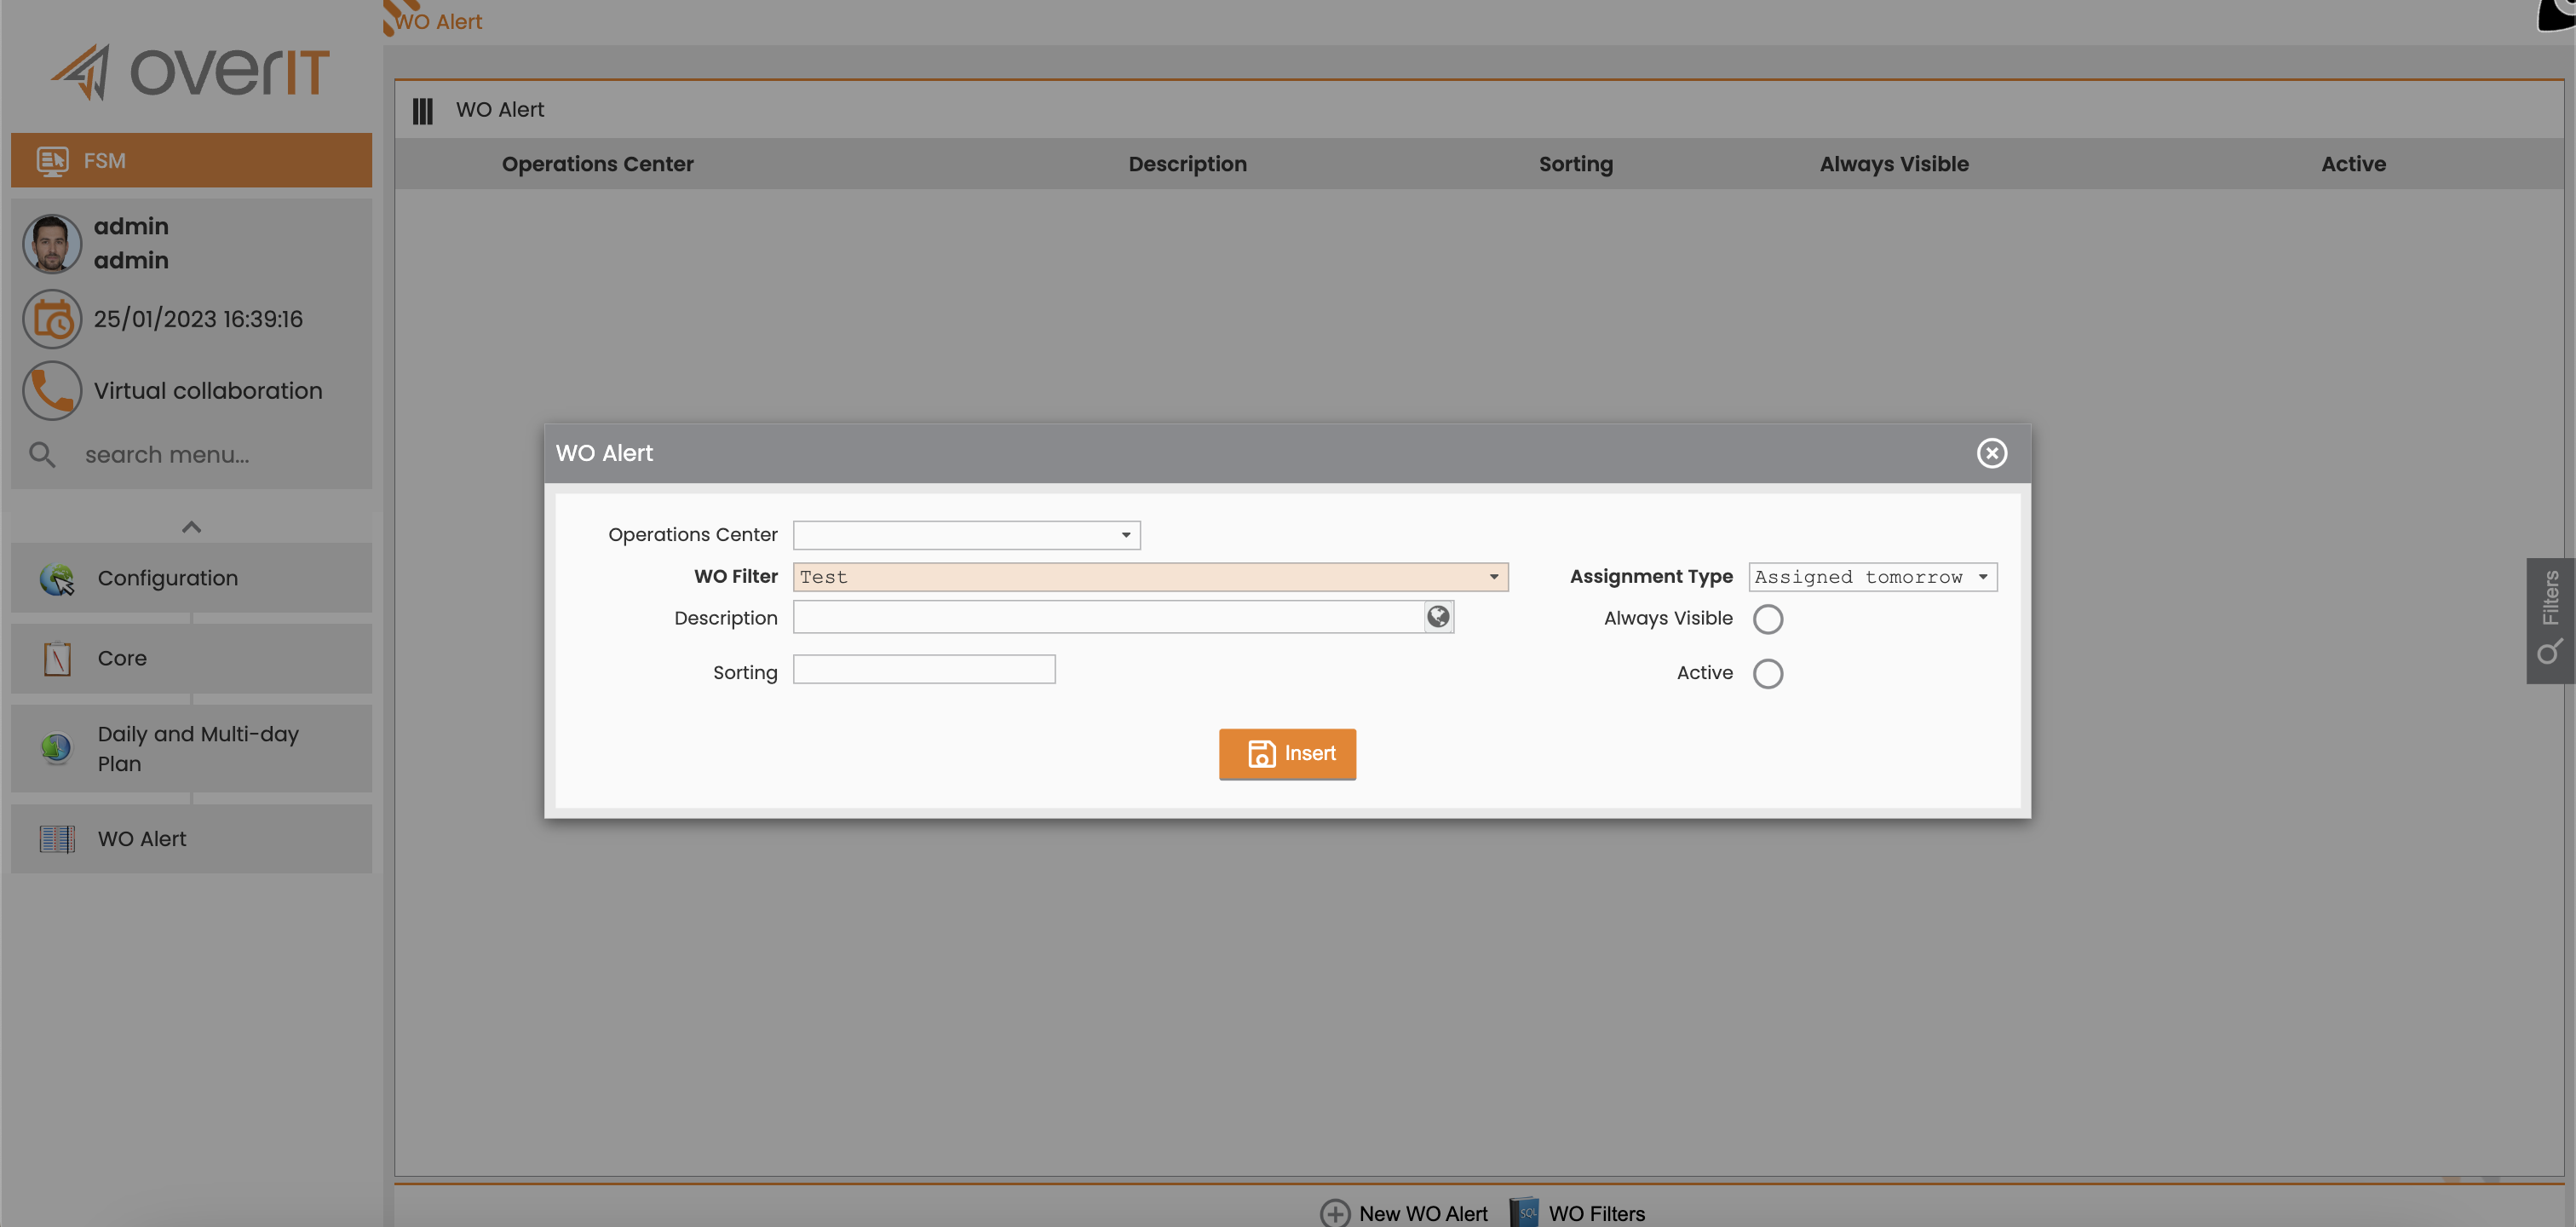
New WO Alert -
In the new WO Alert configuration window, assign values to the following properties:
-
Operations Center: Select the specific Operations Center to which this alert applies.
-
WO Filter: Choose an existing WO Filter that defines the set of work orders for which the alert will be triggered.
-
For details on creating WO Filters, refer to the WO Filter Configuration section in this document.
-
-
Description: Enter a clear and concise description for the WO Alert. This description will be displayed in the Daily Plan panel.
-
Assignment Type: Select the type of assignment this alert pertains to. Possible values include:
-
Order to be scheduled
-
Scheduled
-
Finalized
-
To be finalized tomorrow
-
-
Always visible: Check this box if the alert should always be displayed in the Daily Plan panel, regardless of other filters.
-
Active: Check this box to activate the alert in the Daily Plan. If unchecked, the alert will not be active.
-
Sorting: Enter a numerical value to determine the display order of this alert within the Daily Plan panel.
-
-
Click the Insert button to save the new WO Alert.
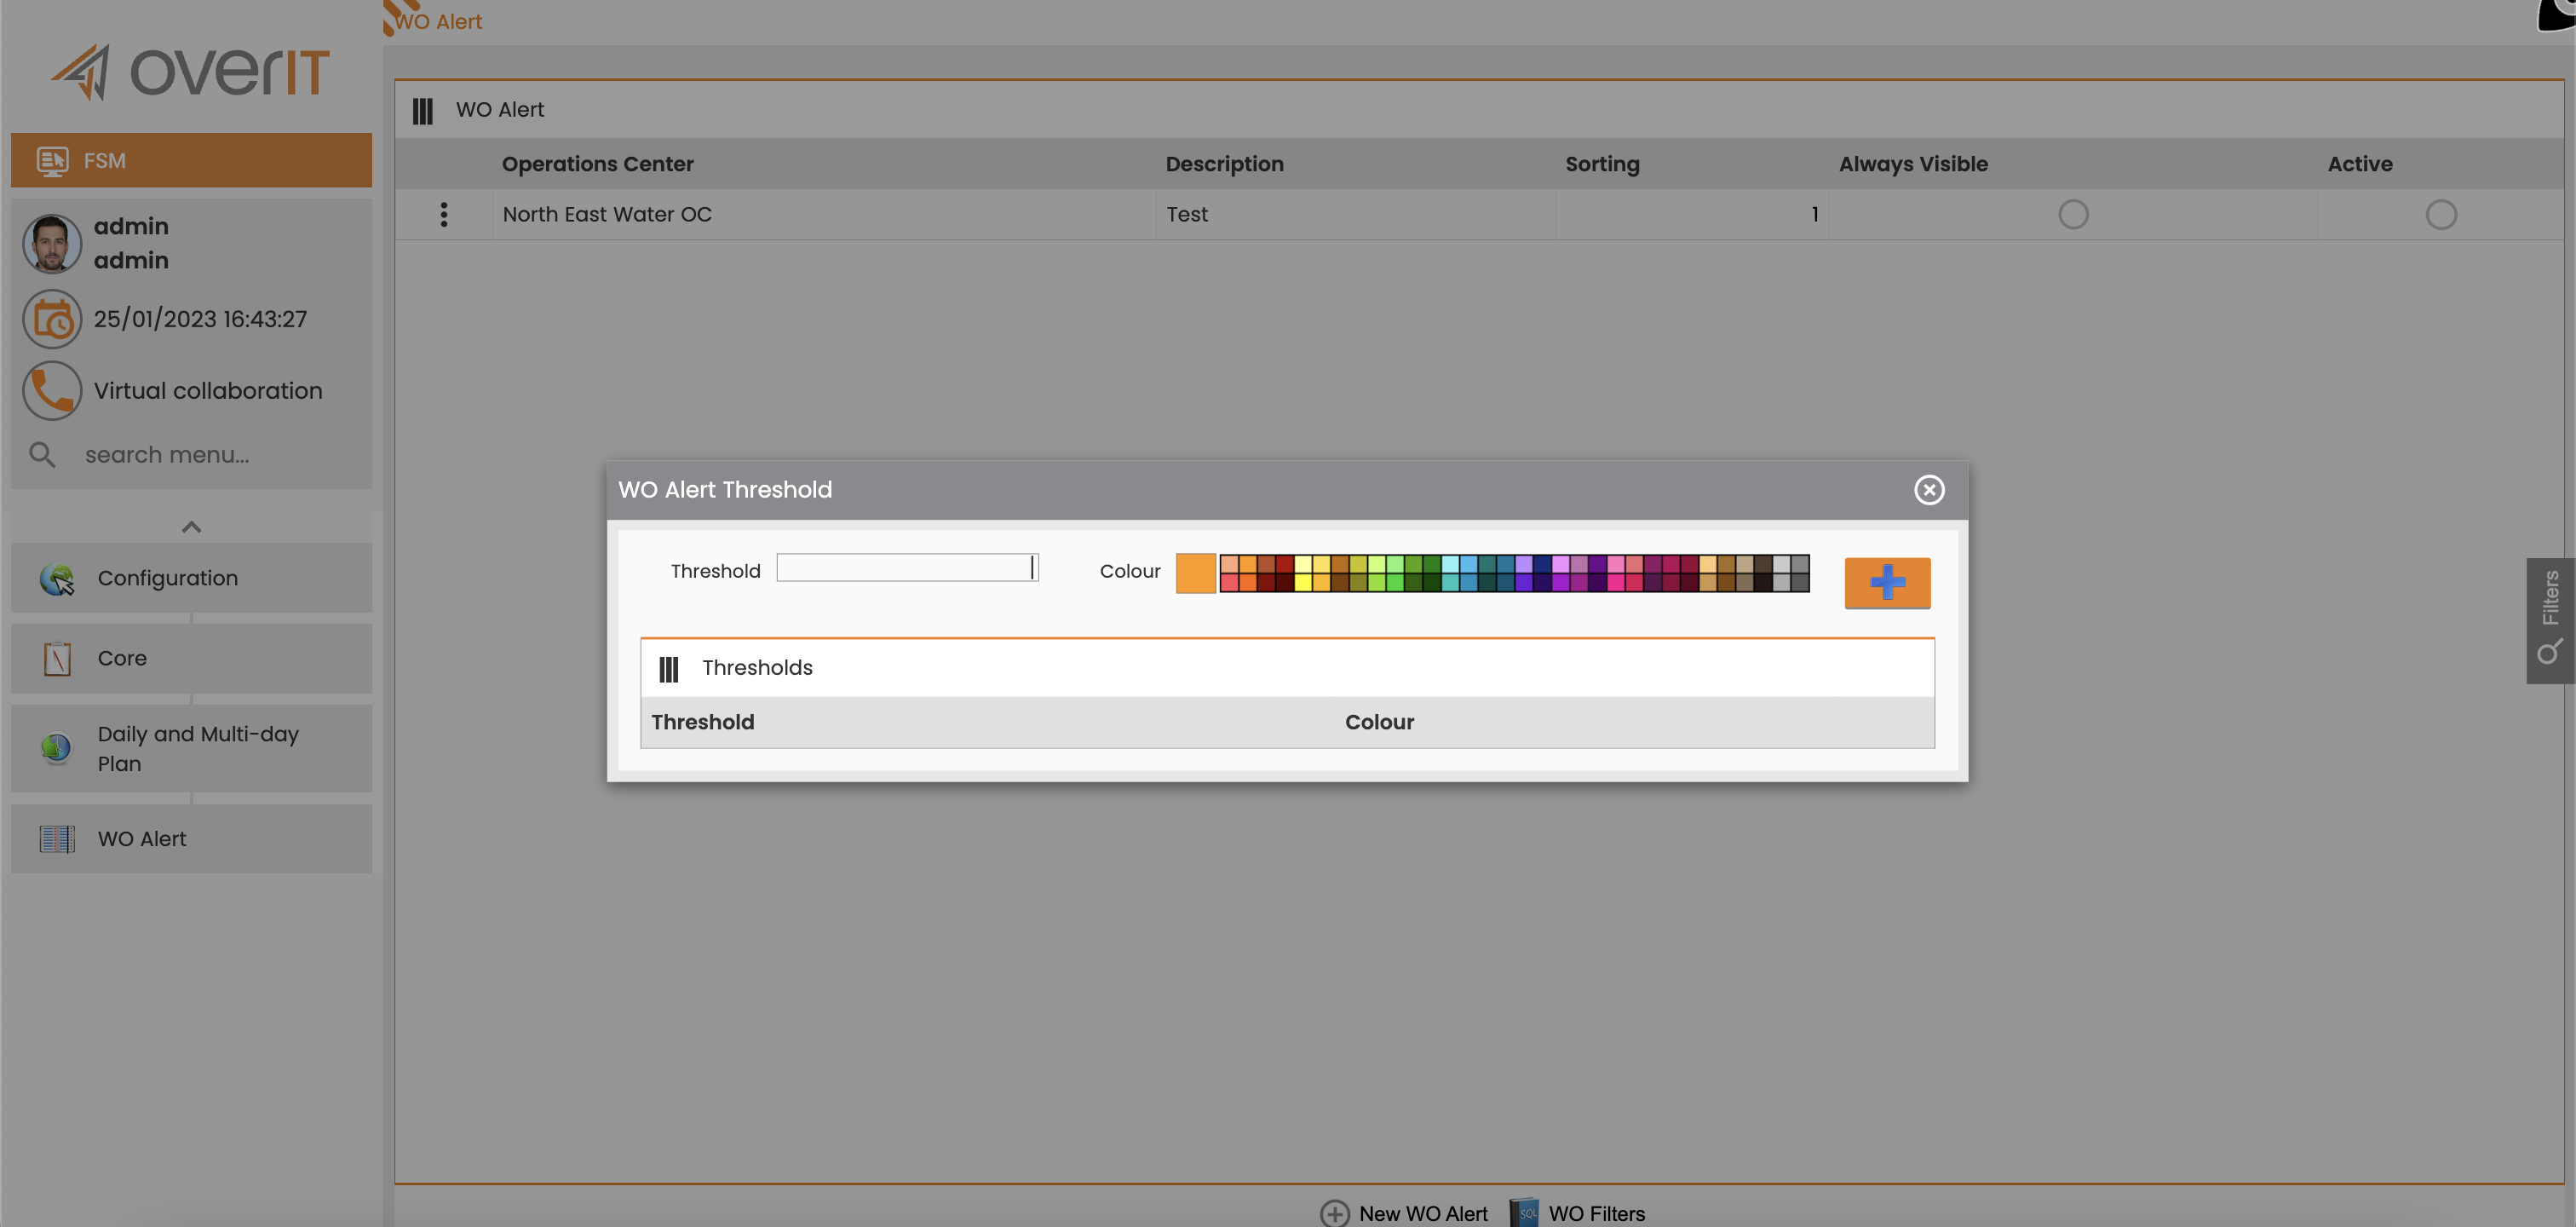
2. Define a Threshold for a WO Alert
You can define a numerical threshold and a corresponding color for each WO Alert to provide visual indicators.
-
From the WO Alert main page, locate the newly created WO Alert.
-
Click the Options button (typically represented by three dots) for the specific alert row.
-
Select Set Threshold.
-
In the displayed window, define the numerical value for the threshold and choose the color that will be displayed in the Daily Plan panel when this threshold is met.
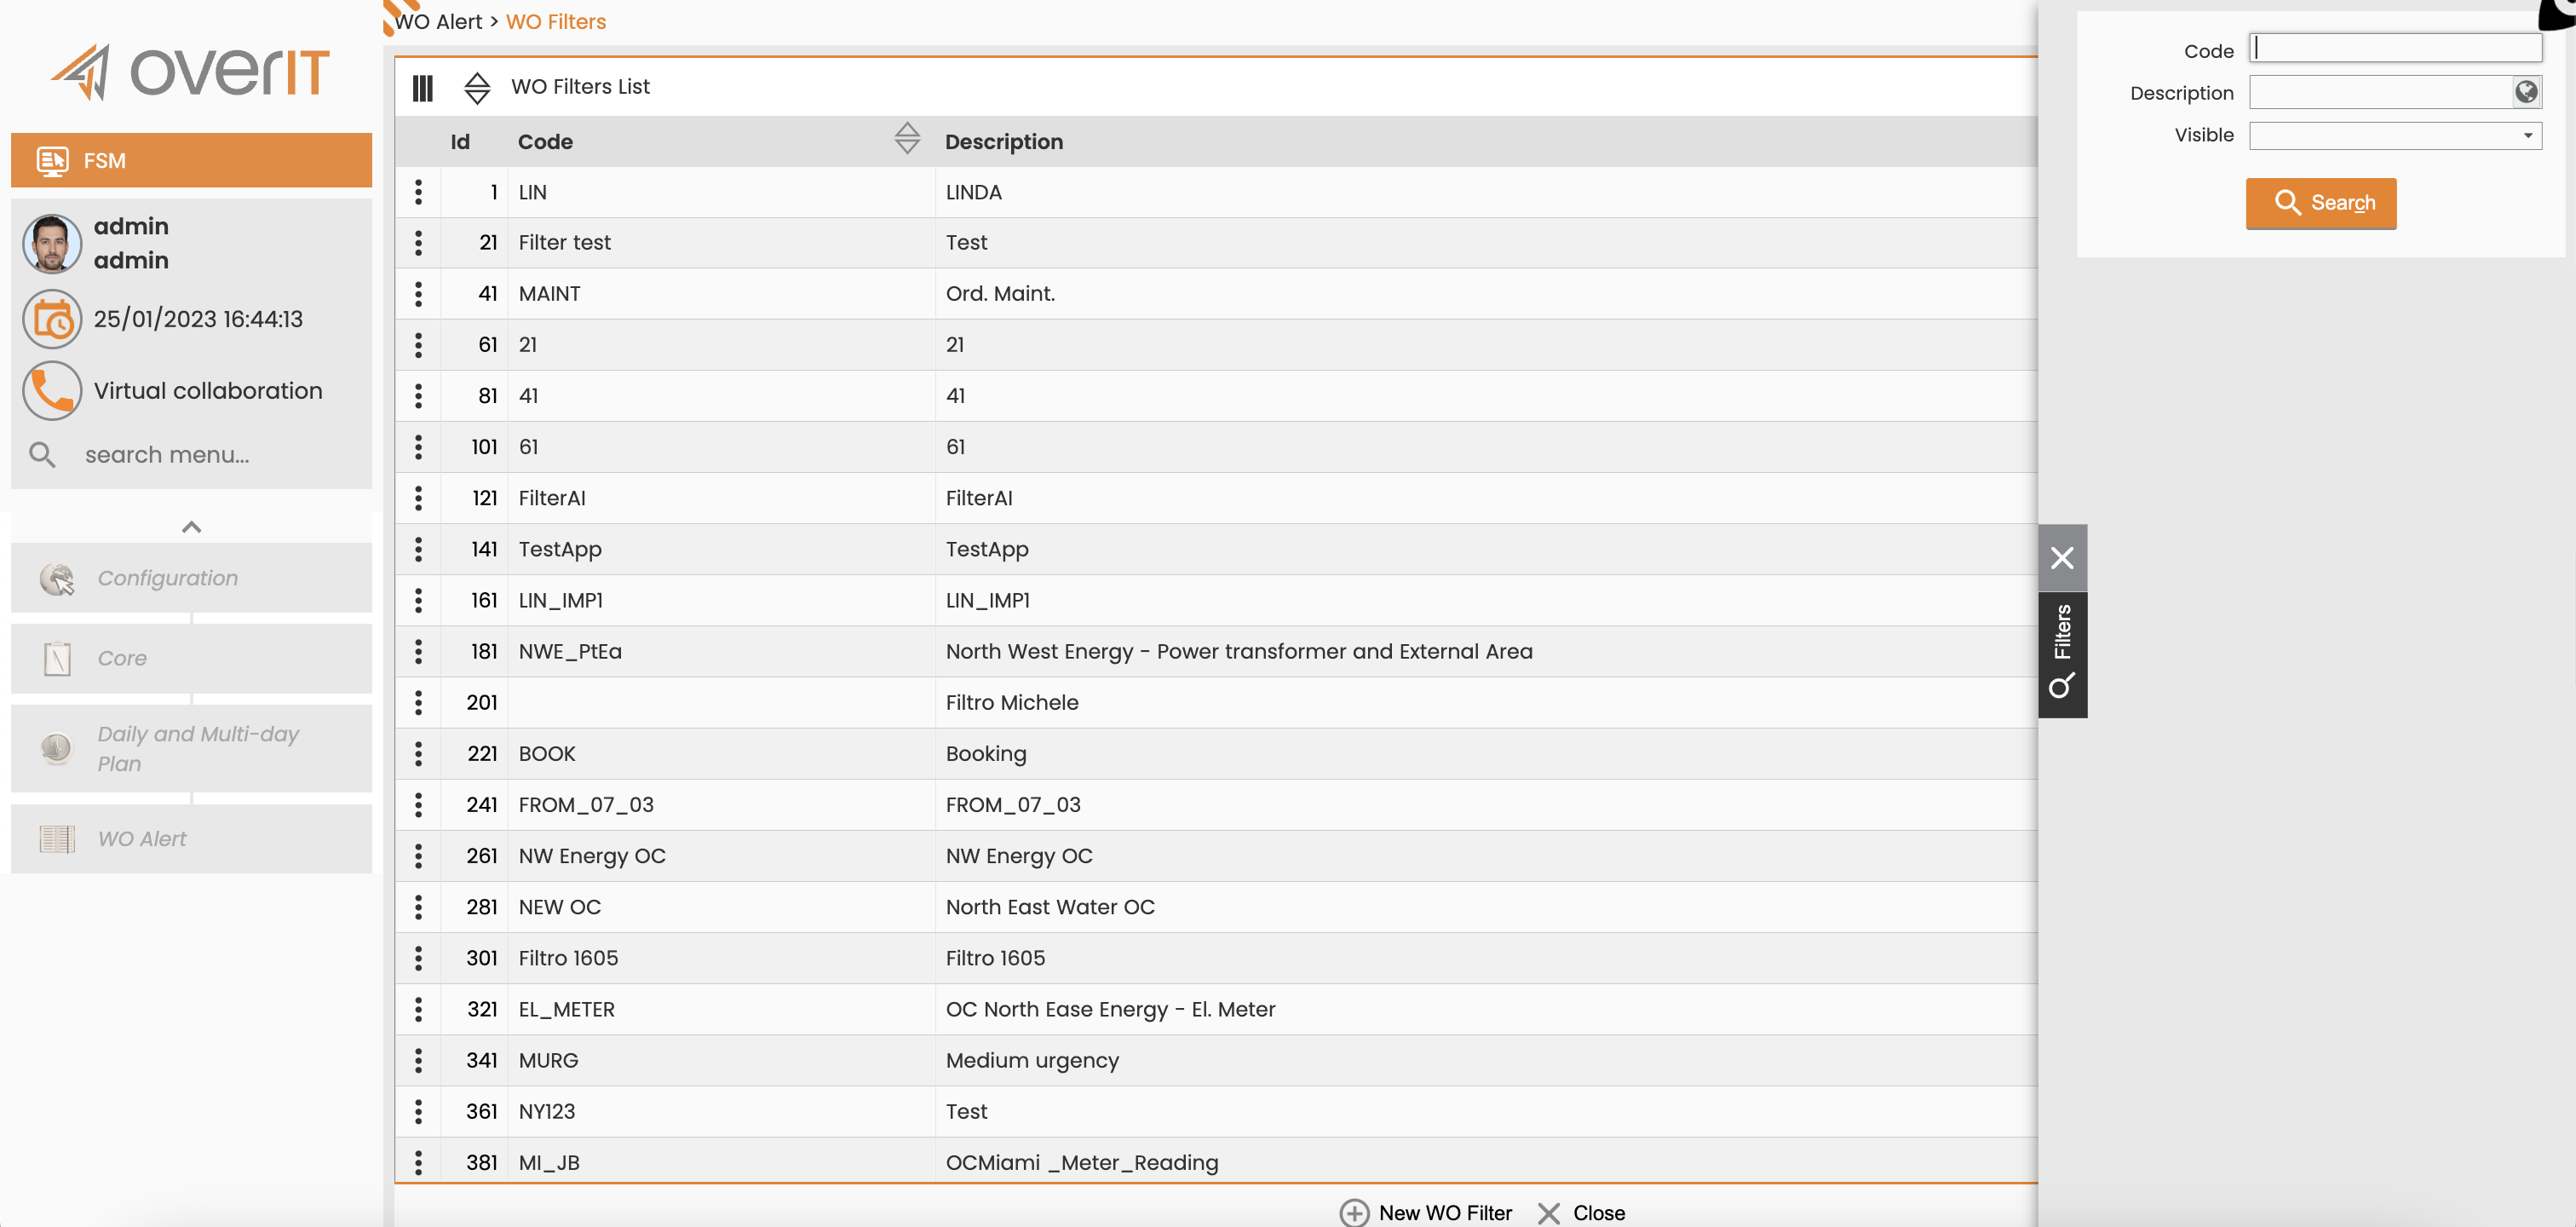
3. Create or Manage WO Filters (If Needed)
WO Filters are crucial for defining the criteria that determine which work orders trigger an alert.
-
On the main WO Alert page, click the WO Filters button.
-
This page displays a list of existing WO Filters. You can filter this list by Code, Description, or Value (indicating visibility/usability).
-
To create a new WO Filter:
-
Click the New WO Filter button.
-
Enter a Code (unique identifier) and a Filter Description.
-
Set the filter display mode using the Visible flag.
-
To define the specific criteria for the filter, use the Manage Filter Clauses section:
-
Click Add Clause to add a new filtering condition.
-
A new window will appear where you define a WO Filter Parameter. Select an Operator (e.g., "equals," "contains") from the available options. The available operators will vary based on the parameter type.
-
Complete any further fields prompted by the system based on your operator selection.
-
Note: For a work order to be included in the list defined by this filter, it must satisfy all configured filter clauses.
-
Click OK to confirm the clause or CLOSE to exit without saving.
-
To Delete Clause, select the clause from the "List of Filter Clauses" table and click the Delete Clause button.
-
-
-
To edit an existing WO Filter:
-
Click the Options button (three dots) next to the desired WO Filter.
-
Modify the Code, Filter Description, or filter display mode as needed.
-
Adjust filter clauses using the Manage Filter Clauses section as described above.
-
What's Next
Once your WO Alerts and associated WO Filters are configured, they will automatically apply to the Daily Plan in FSM, providing real-time visual feedback. You may want to:
-
Monitor the Daily Plan: Observe how the configured alerts highlight relevant work orders.
-
Refine WO Filters: Adjust filter criteria as needed to optimize the accuracy and relevance of your alerts.
-
Configure additional alert types: Explore other alert configurations available in FSM to enhance your operational monitoring.