
Module’s introduction Modules management
What’s new 3.0
-
Creation of more modules with different configuration
-
More customization on modules
How to configure
Only System_admin group can access to this tab
Going on Control Panel > System > Modules (Figure 1 - Modules tab), you can access to the list of existing modules (Figure 2 - Modules list).
If the license in use does not permit access to a specific module, that module will be disabled.
|

|
|---|
|
Figure 1 - Modules tab |
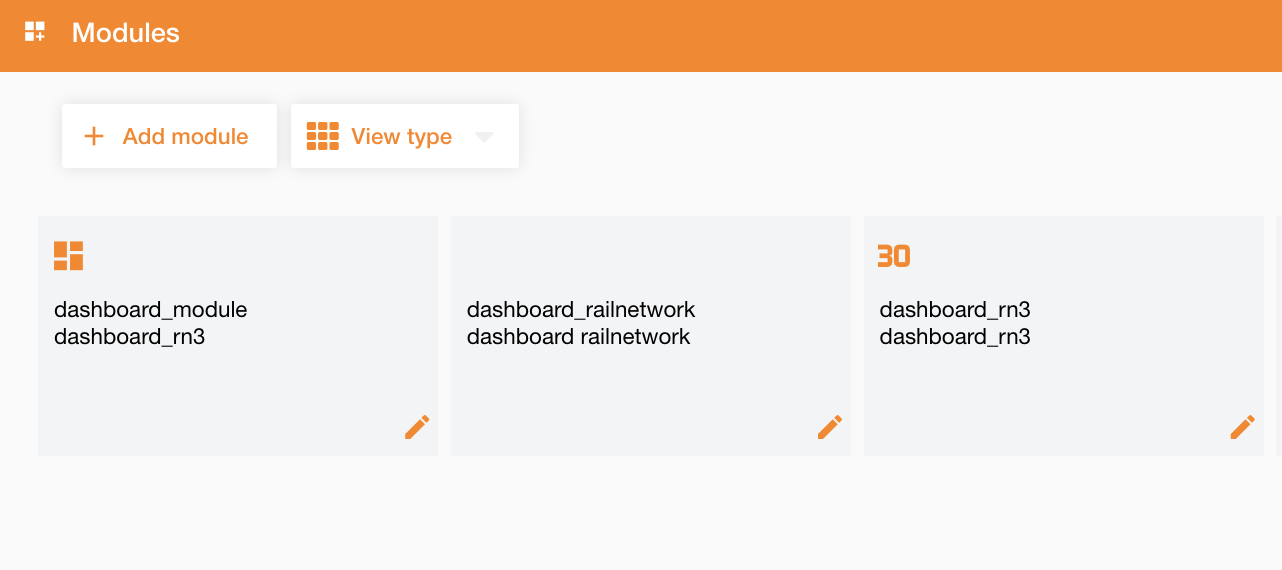
Going on “Modules” tab, you can search existing modules or also create a new configuration starting from already existing modules, clicking the “Add module” button.
|
|---|
|
Figure 2 - Modules list |
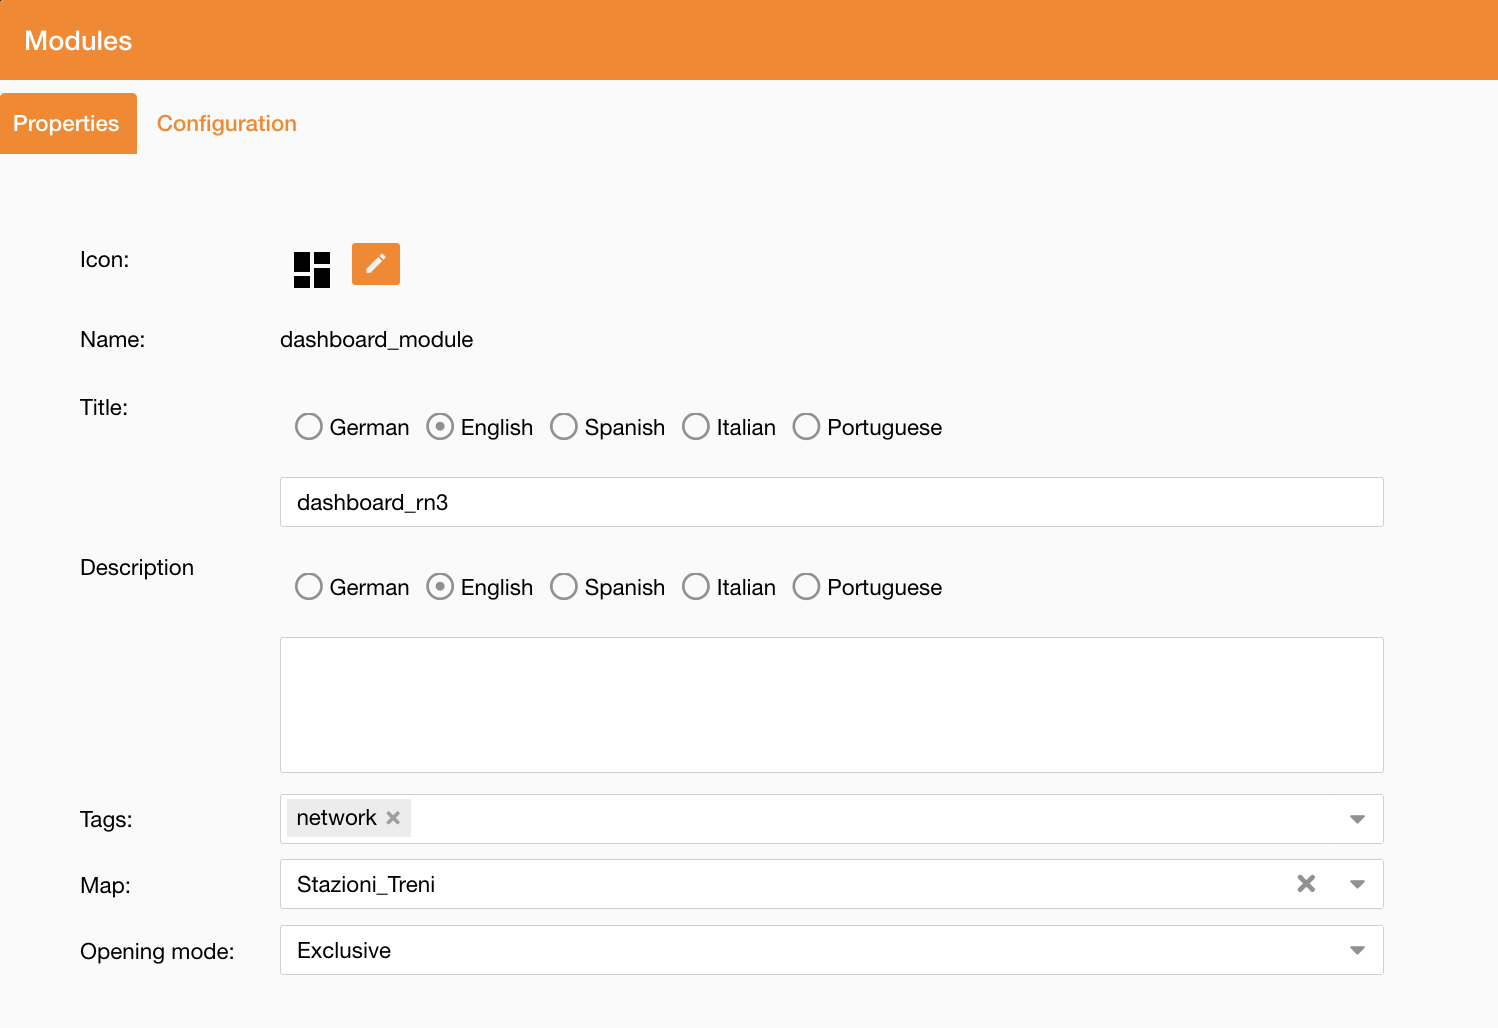
Each module is defined by (Figure 3 - Configure a module) :
|
Field |
Description |
|---|---|
|
Icon |
Editable by the user |
|
Name |
The name of the module (xtype) |
|
Title |
A brief description of the module, managed with multi-language |
|
Description |
A more detailed description of the module's features, managed with multi-language |
|
Tags |
A list of tags identifying the module. These tags are defined in the pre-configuration stage using Liquibase scripts |
|
Map |
A dropdown menu that allows users to load a map when the module is initiated. Default value is empty. |
|
Opening mode |
|
|
|---|
|
Figure 3 - Configure a module |
Access to the module is granted only if the user's group is associated with the module.
If the user does not have access, an error message will be displayed. See how to configure access here: Functional Groups
See reference about how to use module widget in NextGen Geo: Module widget